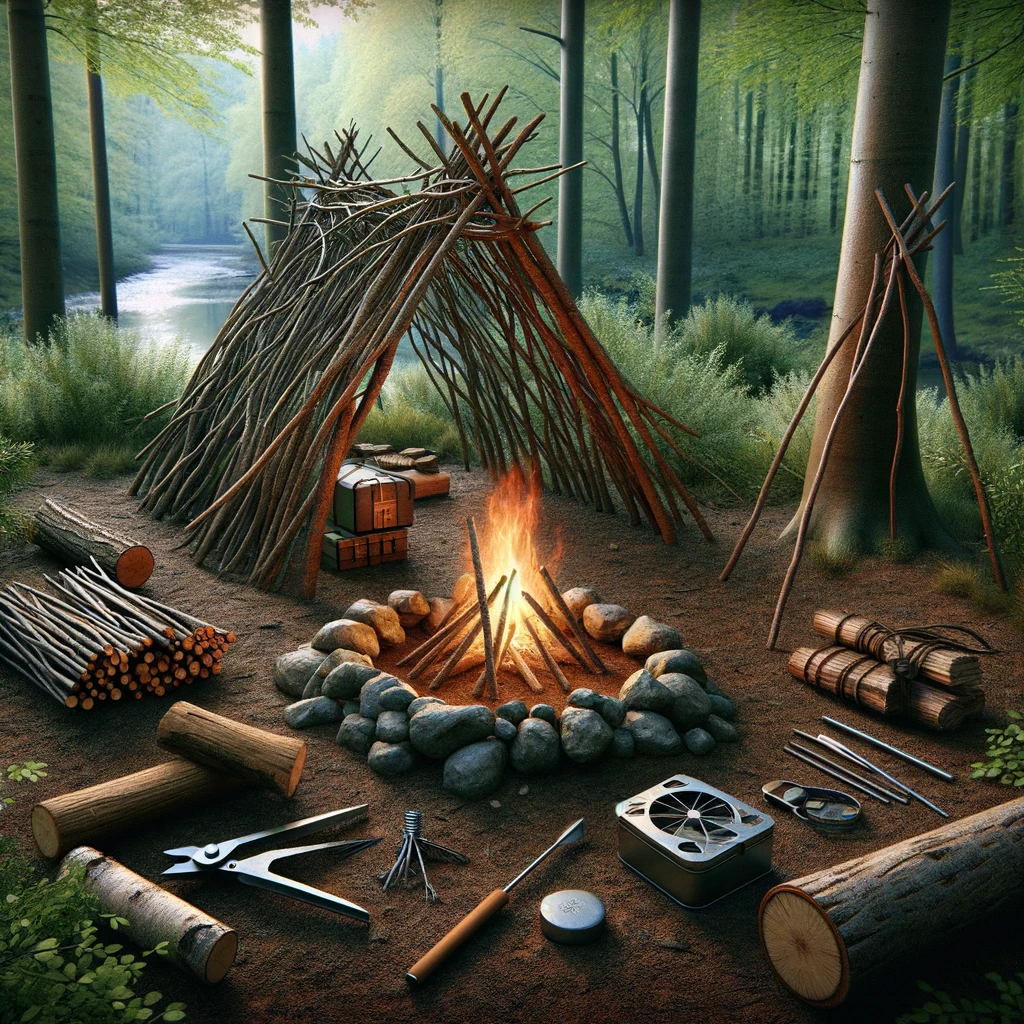
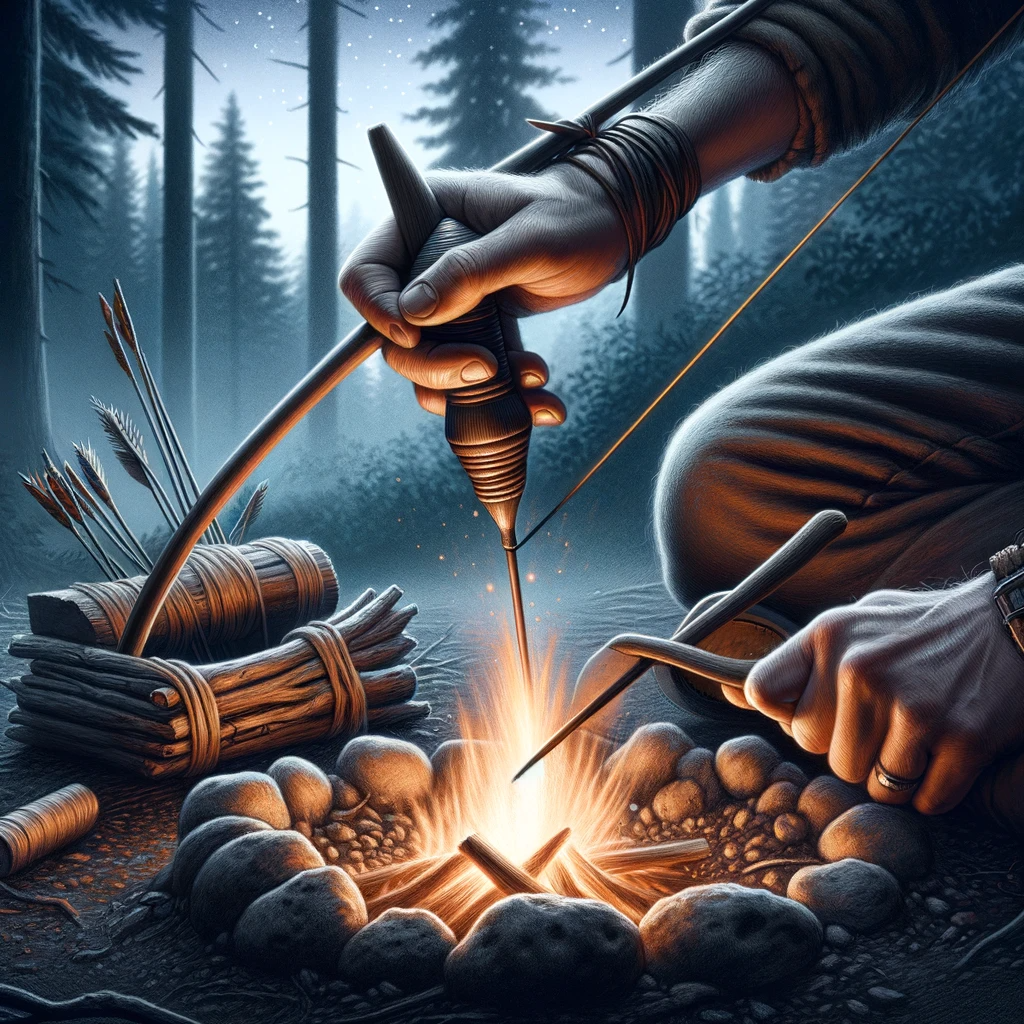
Top Fire-Starting Skills for Wilderness Survival
Top Fire-Starting Skills for Wilderness Survival: Just as you stumble upon this guide, the heavens may conspire to leave you in the wild, where starting a fire could be your lifeline. You’ve got a thirst for freedom, and with it comes the responsibility to master the flames.
Understand that your ability to conjure fire from nature isn’t just a trick; it’s an essential skill that grants independence from the grid. You’ll learn to coax embers into life with the hand drill method, command sparks with flint and steel, and harness the sun’s rays with a lens.
Whether it’s the simplicity of the fire plow or the sophistication of improvised electrical fires, you’re about to become self-sufficient.
Remember, it’s not just about survival; it’s about the freedom to thrive in the embrace of the wilderness.
Key Takeaways
- The fire triangle consists of heat, air, and fuel, which are essential for starting and maintaining a fire in the wilderness.
- Different fire-starting techniques include the hand drill method, fire plow technique, bow drill technique, flint and steel sparks, and solar lens focusing.
- Proper selection and preparation of tinder, such as dry leaves, grass, and bark, is crucial for successfully starting a fire.
- Understanding the principles of friction, airflow, and strategically placing and feeding the fire with wood are important for effectively starting and maintaining a fire in the wilderness.
Understanding Fire Principles
To successfully start a fire in the wild, you’ll need to grasp the fundamentals of the fire triangle: heat, air, and fuel. This knowledge isn’t just a suggestion; it’s a survival essential you need to know. Whether you’re seeking the freedom of the backcountry or preparing for unforeseen circumstances, understanding how to harness these three elements can make all the difference.
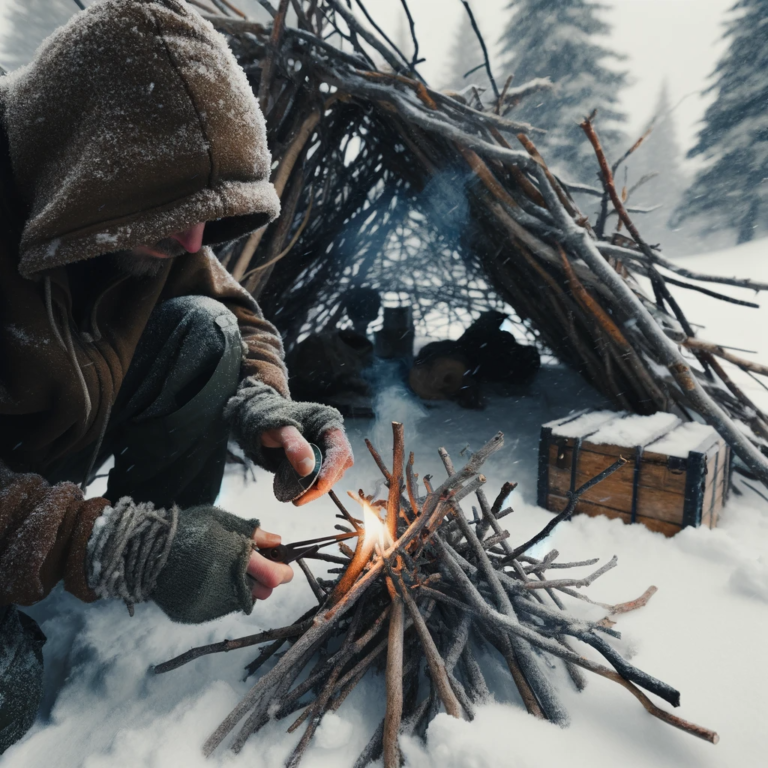
For building a fire, your first task is to gather tinder—material that catches fire easily. Think birch bark, dried leaves, or even bird nests. This isn’t the place for guesswork; select your tinder carefully, as it’ll be the bedrock of your flame.
Next, to create friction, you might opt for the classic friction fire technique, rubbing wood against wood. Or, if you’re carrying a fire starting tool like a ferro rod, use it to scrape sparks into your tinder. It’s all about generating enough heat to coax an ember onto your tinder.
You’ll also need to ensure your fire can breathe. Airflow is critical, so when you’re setting up, structure your materials to leave space for oxygen to circulate. This isn’t merely construction; it’s crafting a lifeline in the wild.
Now, the fuel—your fire’s sustenance. Gather wood of various sizes, from small twigs to larger logs. But don’t just pile it on; the technique to use here is strategic placement to feed the fire gradually and sustainably.
The Hand Drill Method
Among the most challenging yet rewarding skills to master for wilderness survival is the hand drill method of fire starting. This primitive technique is not for the faint of heart but offers a sense of freedom and self-sufficiency unmatched by modern methods. To succeed, you’ll need to prepare diligently, choosing your materials wisely and honing your technique.
First, you must create a tinder nest from the driest leaves, grass, and bark you can find. Your spindle and fireboard should be of softwood, with the spindle sharpened to a point. On the fireboard, cut a groove near the edge to place the tinder nest beneath it.
To initiate the process, create a depression in the fireboard with the tip of your spindle. Place the spindle upright in this depression, and start rubbing the tip between your palms, rolling it back and forth with consistent pressure. Your hands must work in harmony, generating enough friction to start an ember.
When you see smoke, it’s time to gently blow, coaxing the ember into life. Tap the fireboard to drop the ember into the tinder nest, then transfer it to your main fire area.
Remember, the hand drill method demands patience and practice. It’s a technique of perseverance, echoing the spirit of ancient survivalists. If you find this method too challenging, consider the bow drill as an alternative, but don’t give up on the hand drill—it’s a skill that truly connects you with the wilderness.
| Step | Hand Drill Component | Action |
|---|---|---|
| 1 | Tinder Nest | Gather dry materials |
| 2 | Spindle & Fireboard | Create a depression and cut a groove |
| 3 | Spindle Motion | Rub the tip between palms |
| 4 | Generating Ember | Apply pressure to create friction |
| 5 | Igniting Tinder | Gently blow on ember, tap to transfer |
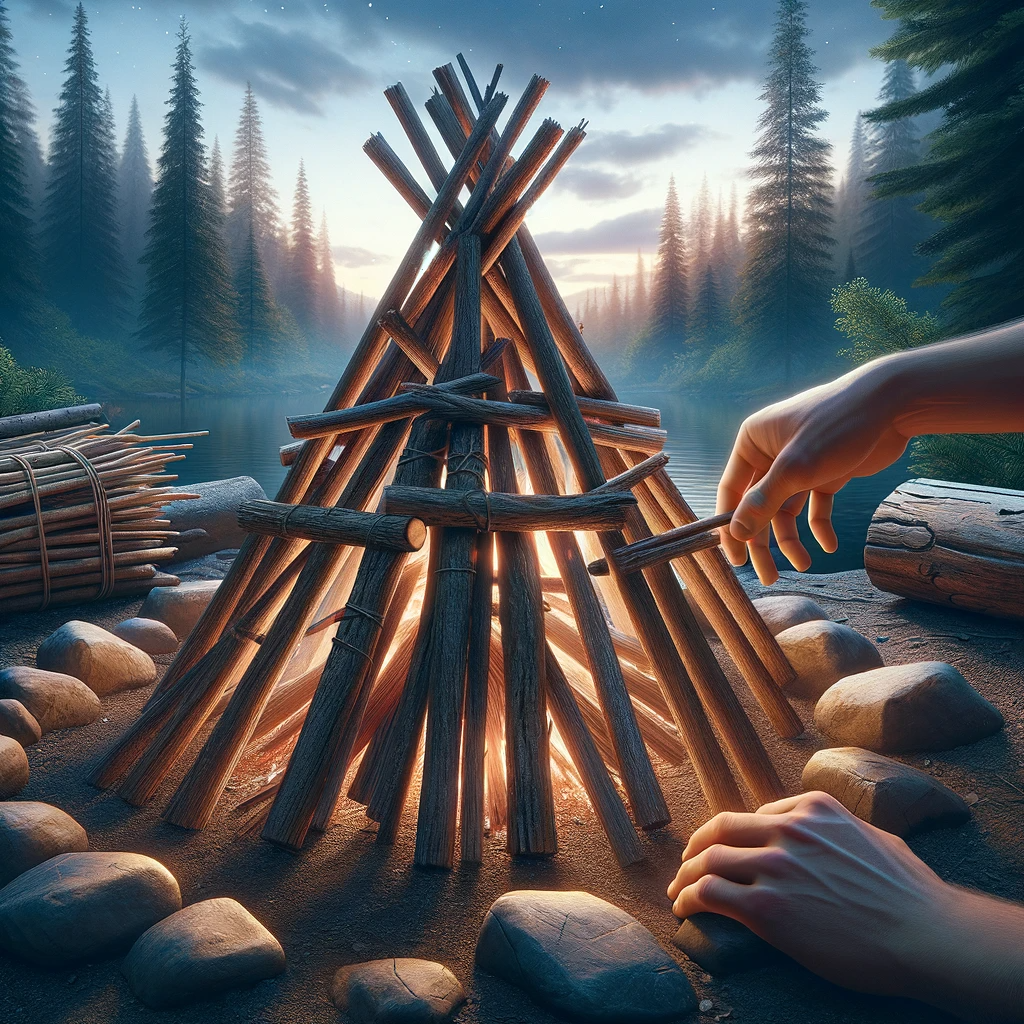
Mastering the Fire Plow
While the hand drill method connects you to ancient fire-making practices, you’ll find mastering the fire plow technique equally essential for your wilderness survival toolkit. The fire plow is a time-honored method that harnesses the power of friction to make fire, an indispensable skill when modern conveniences are out of reach.
Here’s what you need to do: select a soft wood for your plow board and a harder wood for your plow. Carve a straight groove down the length of the plow board and whittle your plow to a blunt point. Position the board on a stable surface, ideally slightly elevated at one end. This setup will help you apply the necessary pressure and control.
Grasp the plow firmly and begin rubbing it back and forth along the groove vigorously. You’re looking to create fine wood dust, which will serve as the base for your ember. As you generate heat from the friction, the dust will start to smolder. This is your cue to increase the intensity of your motions. The goal is to create enough heat for the dust to catch fire and sustain combustion long enough for you to transfer it to a bundle of tinder.
Once you’ve got a glowing ember, carefully place it amidst your tinder. Now’s the time for patience and gentle breaths. Blow softly to nurture the ember into a flame that will burn for a long time, providing warmth and the ability to cook.
To truly master the fire plow, you’ll need to practice. Your ability to create fire in the wild using this method can be the difference between a night spent in comfort or in cold. Hone your survival skills and enjoy the freedom that comes with self-reliance.
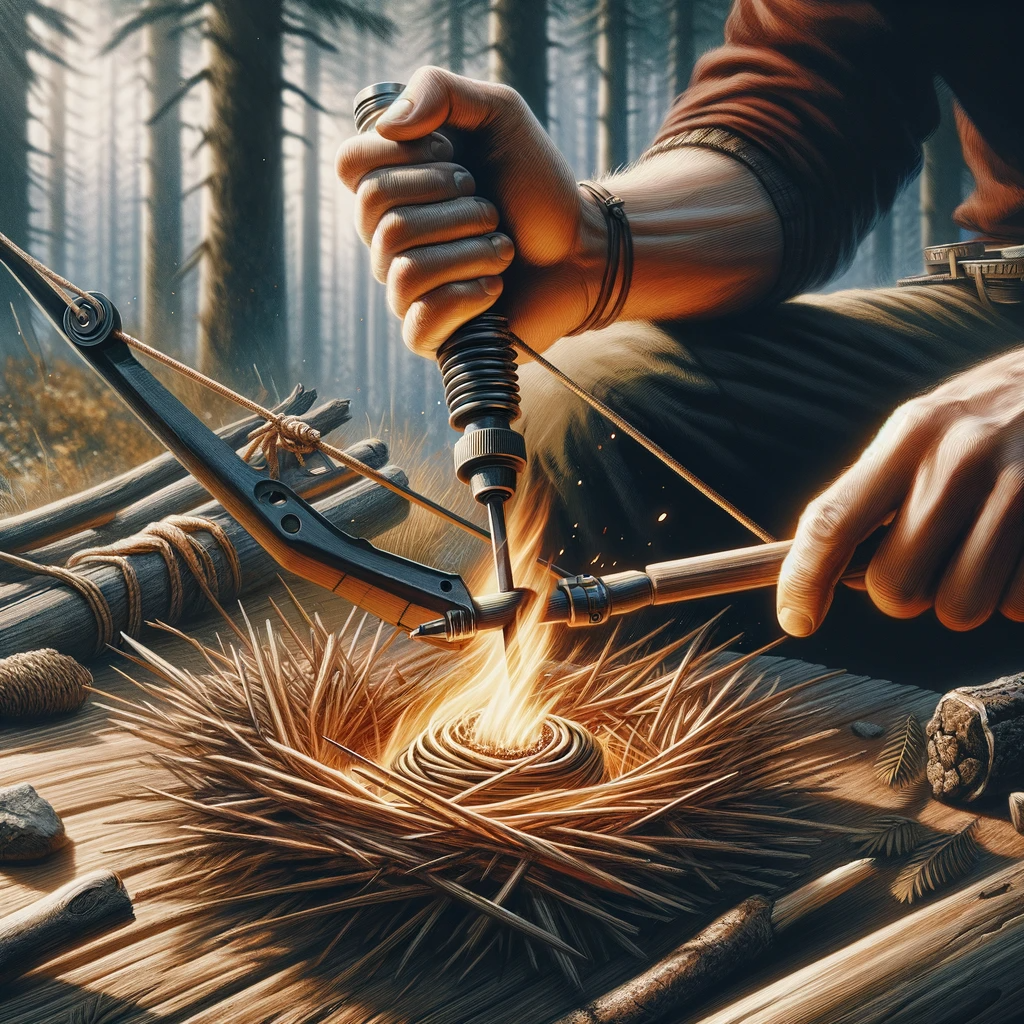
The Bow Drill Technique
Building on your knowledge of the fire plow, you’ll find that the bow drill technique offers another effective way to create fire in the wild with a bit more complexity. This time-honored skill harnesses the power of friction to ignite an ember, demanding finesse and practice.
To execute the bow drill technique, you’ll need a hearth board, a spindle, a handhold to apply pressure, and a bow with a cord.
First, carve a shallow depression into your hearth board and cut a notch into its edge. This notch is critical—it allows the ember to fall out and collect in your tinder nest. Select a straight spindle that fits comfortably in your hand; softwoods like cedar or willow work well as they generate friction effectively.
Now, let’s talk about the bow. It should be a strong, slightly curved stick with a cord that’s taut enough to spin the spindle. Loop the cord around the spindle, place the spindle into the hearth board’s depression, and hold it steady with the handhold.
With your bow, drive the spindle back and forth with long, smooth strokes. The spindle spins rapidly, heating up the hearth board through friction. Keep a steady pace and maintain pressure. You’re looking for smoke, a sure sign that an ember is close.
When you spot a glowing ember in the notch, carefully transfer it to your tinder nest. Gently blowing on the ember will coax it into a flame. Remember, patience and persistence are your allies here.
Mastering the bow drill technique elevates your survival skills, offering you a sense of freedom and self-reliance in the wilderness. Keep practicing; this is a skill that truly embodies the phrase ‘practice makes perfect.’
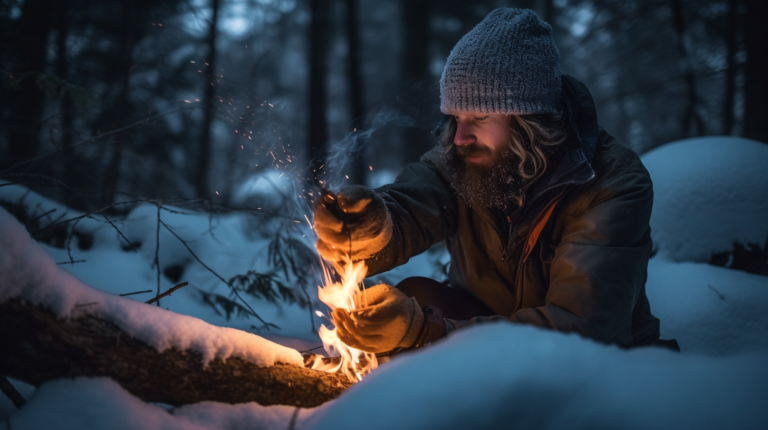
Flint and Steel Sparks
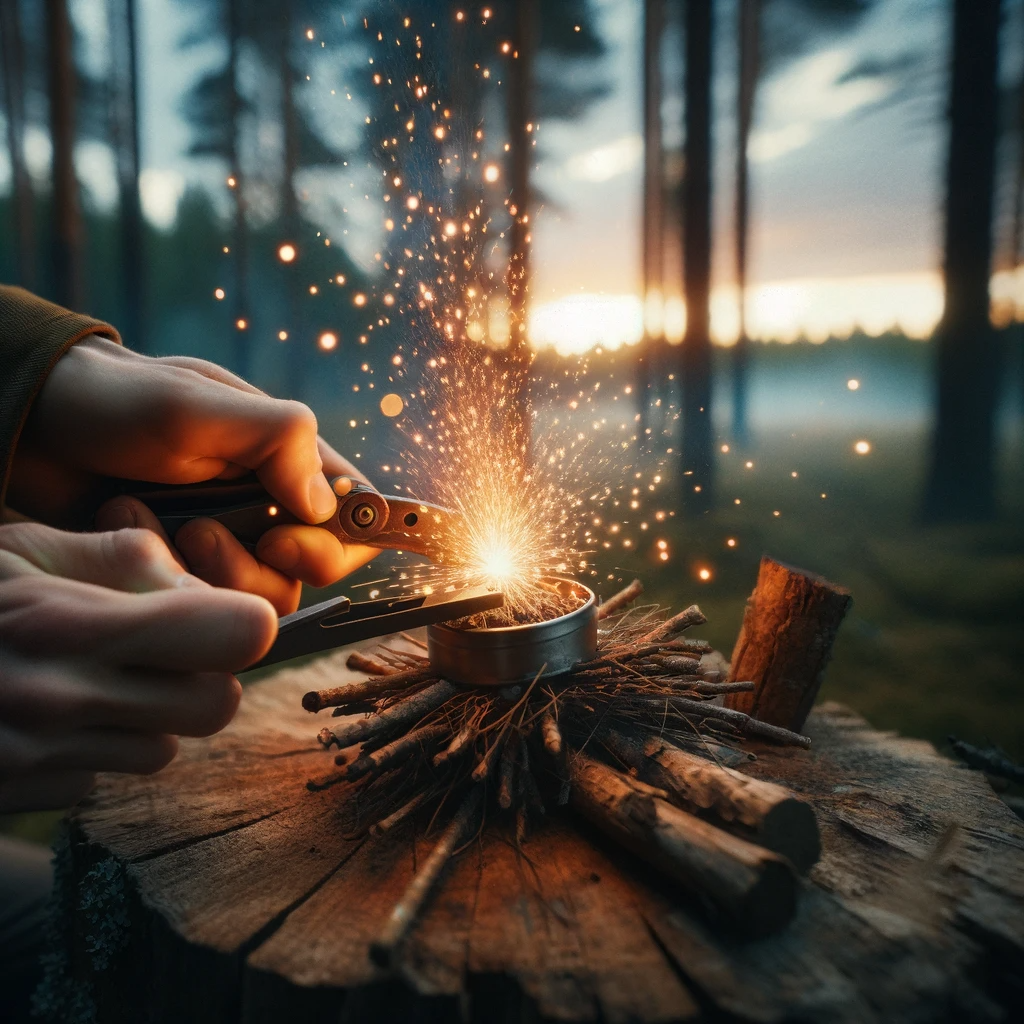
Moving on from the bow drill, let’s tackle the flint and steel technique—your go-to method when precision sparks are a must.
You’ll need to master the striking technique to efficiently generate sparks; it’s all about the angle and pressure you apply.
Choose the best spark-catching materials, because even the most skilled strike is useless if the sparks have nothing to ignite.
Striking Technique Efficiency
You’ll need to master the striking technique, ensuring that each strike of your flint against the steel produces a shower of sparks. Making sure your technique is efficient can be the difference between a warm fire and a cold night. Here’s how to get your fire going with precision and ease:
- Hold the steel firmly and angle the flint to direct sparks downward.
- Create char cloth or gather steel wool to catch the sparks; these materials ignite with minimal heat.
- Use Batteries and Steel wool as a backup plan; rubbing back and forth can generate enough heat.
- Perfect your strike anywhere on the flint; practice creating consistent sparks.
- Remember, striking technique efficiency is key; keep your movements sharp and deliberate.
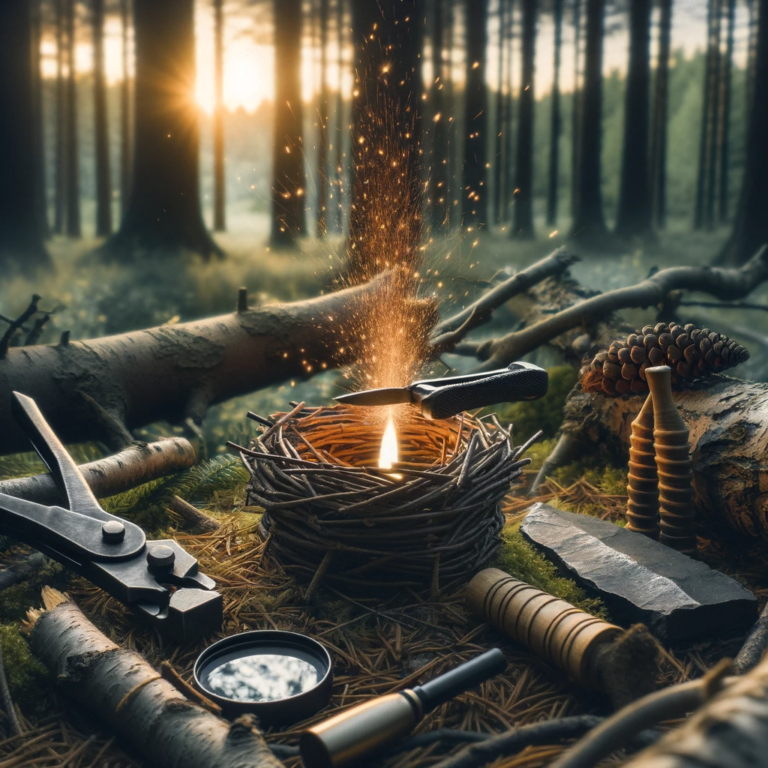
Spark Catching Materials
To turn a spark into a flame, you’ll need the right materials that catch easily and ignite quickly. Your nest of tinder is crucial—it’s where you’ll coax your spark into a sustainable fire. Think of it as the cradle for your flame’s infancy, needing gentle but firm encouragement to grow.
Incorporate a variety of spark catching materials to ensure success. Dead leaves and fine, dry bark shavings can be excellent starters. For added efficiency, consider char cloth, an expert’s choice for catching sparks.
Here’s a quick reference:
| Fire Starters | Description |
|---|---|
| Dead Leaves | Easily ignited by sparks. |
| Dry Bark | Shave it finely to catch sparks. |
| Char Cloth | Charred fabric, perfect for ember nurturing. |
Add bark to your nest, focus the sun’s rays with a magnifying glass, or strike flint and steel—whatever your method, remember that fire building is an art. To light something with intent in the wild is to claim your freedom.
Solar Lens Focusing
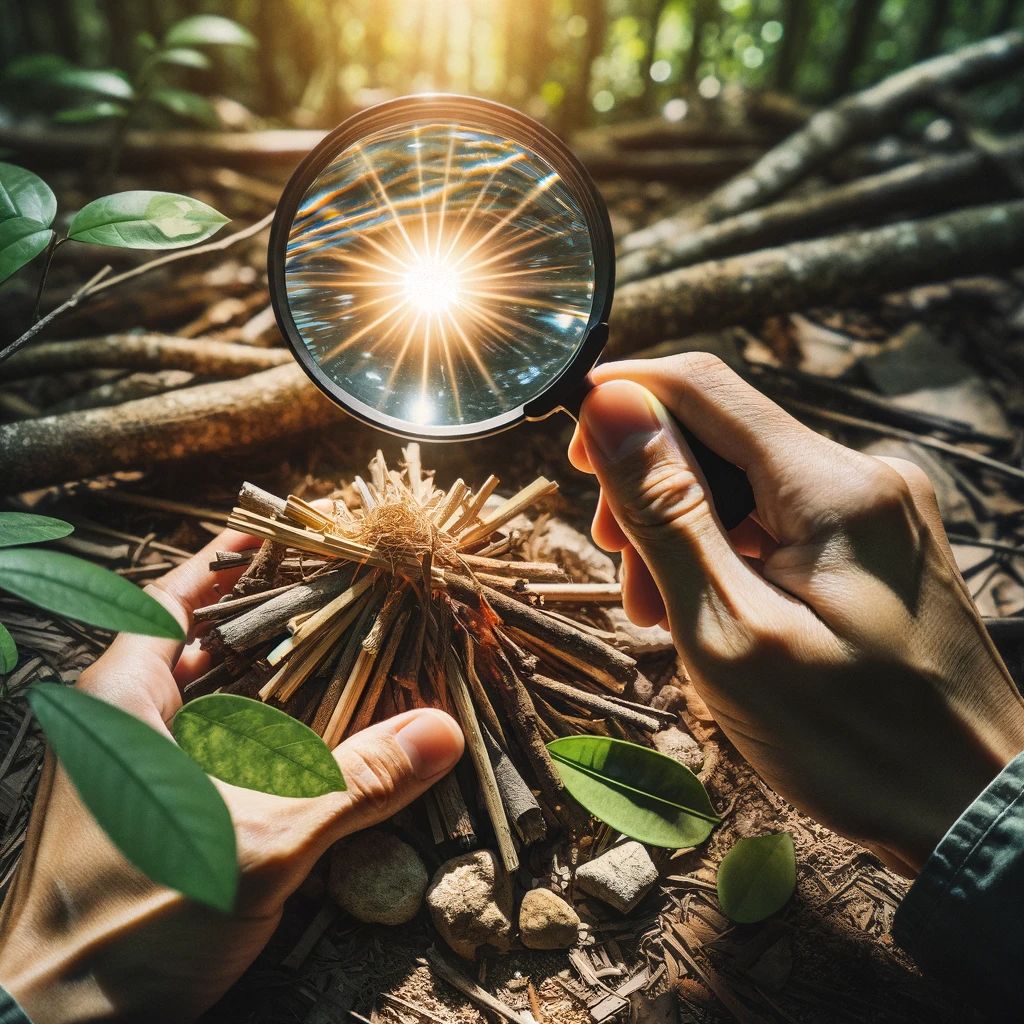
While you’re in the wilderness, using a magnifying glass to focus the sun’s rays can quickly ignite tinder and get a fire started. Solar lens focusing harnesses the power of the sun to create an open flame, offering you a primitive yet effective way to make a fire without matches. This skill not only taps into the spirit of outdoor adventure but also provides a means to cook food and stay warm.
Here’s how to harness the sun’s energy for fire-starting:
- Gather Your Materials: Find a magnifying glass or any lens from a pair of glasses or binoculars. Look for fine, dry tinder like leaves, grass, or small twigs.
- Optimal Conditions: Solar lens focusing requires direct sunlight. Overcast days won’t cut it—aim for a clear, sunny day.
- Prep Your Tinder: Shape your tinder into a nest or a ball to catch the focused rays effectively.
- Angle and Focus: Hold your lens between the sun and your tinder. Adjust the distance until you see a small, bright dot appear. Fine-tune the focus to the smallest, most intense point of light.
- Patience is Key: Keep the lens steady. It may take 30 seconds to a minute for the tinder to smoke and ignite.
If you’re caught without a conventional lens, don’t overlook nature’s alternatives. Clear ice or water in a transparent container can also focus the sun’s rays to start a fire without conventional means.
Mastering solar lens focusing strengthens your self-reliance, allowing you to create fire to cook, signal, or warm yourself. Remember, the key to proficiency is practice, so next time the sun’s out, give it a try. Your survival could depend on it.
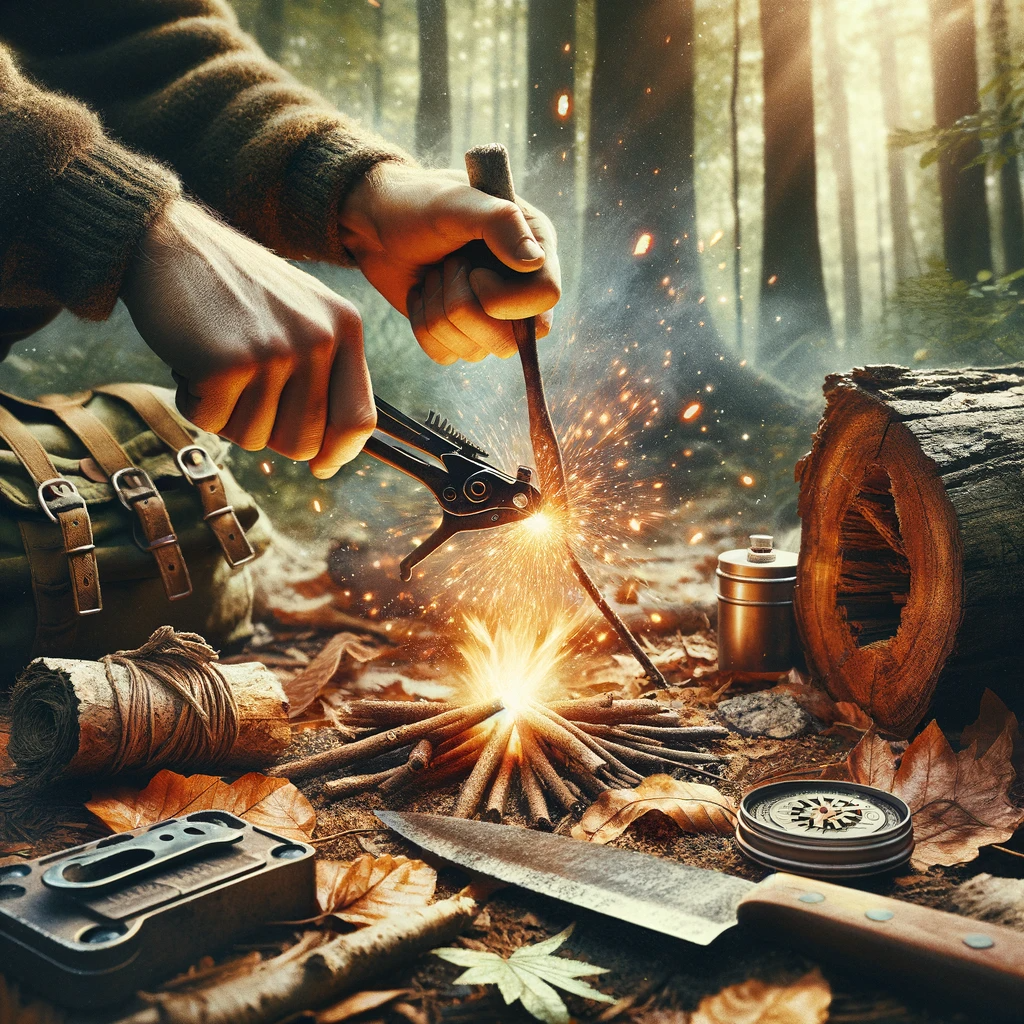
Improvised Electrical Fires
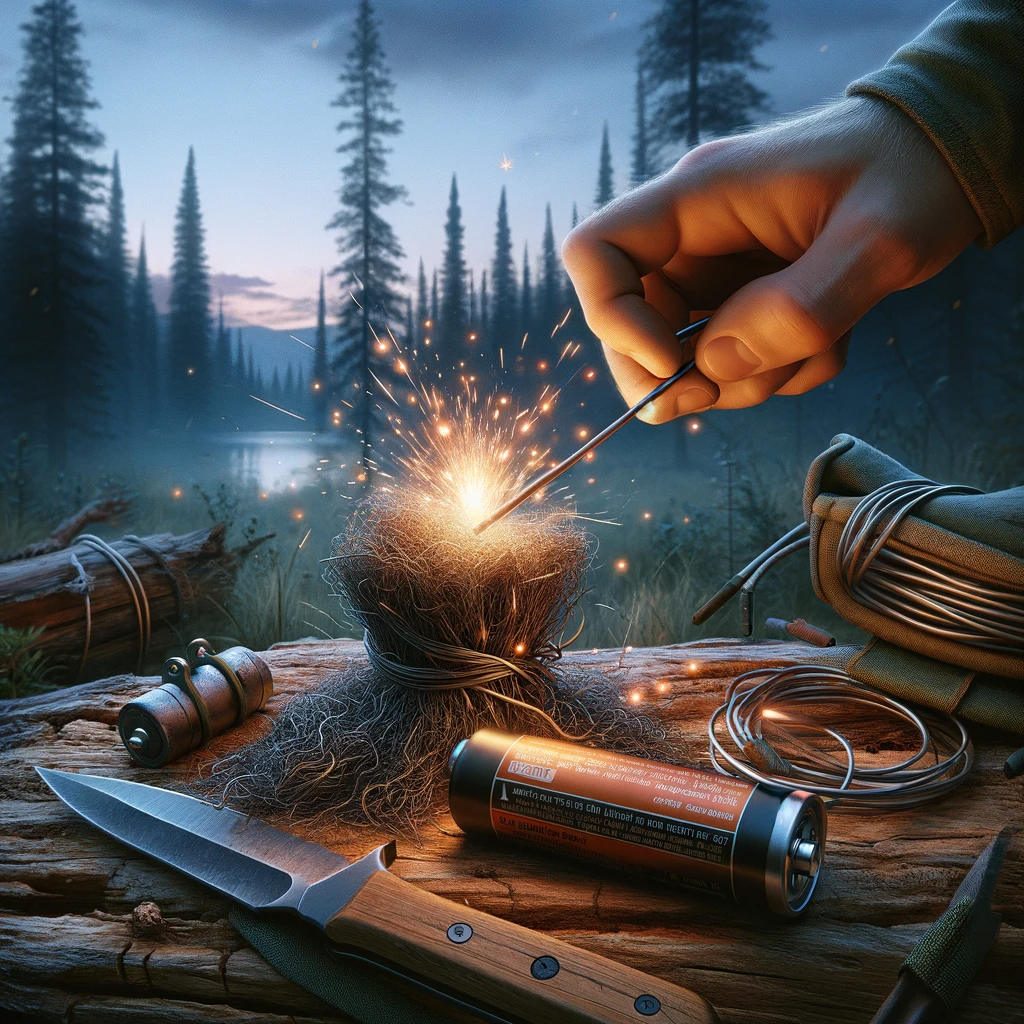
Even if you’re without traditional fire-starting tools, by using a battery and steel wool, you can create an improvised electrical fire in the wilderness. This Modern Fire technique takes advantage of a simple chemical reaction. You’ll need to make sure the steel wool is very fine—0000 grade works well for this purpose.
Start by stretching out the steel wool to its entire length to increase the surface area that will ignite. Take your battery and rub the positive and negative terminals across the steel wool. It doesn’t take much—just a swift movement of the battery on the steel wool will do the trick. The electrical current flows through the fine metal fibers, causing them to heat up rapidly and ignite.
Once you have a glowing ember, gently blow on it to encourage the formation of a flame. Have your kindling ready—dry grass, leaves, or any other material used to catch fire easily—so you can transfer the ember to a larger tinder pile.
In wet conditions, this method can be a lifesaver. It’s a good idea to carry steel wool and a spare battery in your survival kit because they make a great backup when traditional methods fail. Make sure to keep the battery and steel wool separate to avoid any unintentional shorts.
Frequently Asked Questions
How Do You Start a Fire in Wilderness Survival?
To start a fire, you’ll need to master several techniques. Friction methods like the fire plough, bow drill, and hand drill are time-tested.
You can harness the sun with solar ignition or strike flint for sparks. The battery method’s also effective, as is focusing sunlight through an ice lens.
Have a fire piston handy, and keep char cloth ready to catch a spark. Master these, and you’ll never be without fire.
What Is the Best Primitive Fire Starting Method?
Imagine you’re alone in the wild; your survival hinges on a flame. The best primitive method? It’s the hand drill. You’ll harness friction’s power, transforming effort into embers.
But don’t overlook the bow drill, fire plough, or the fire saw for robust alternatives. Flint striking and solar ignitions offer sparks of hope, while lens techniques require clear skies.
Keep tinder fungus handy – it’s the unsung hero of fire-starting lore.
Stay prepared, stay free.
What Is the Best Fire Starting Material Survival?
You’re seeking the best fire starting materials for survival. Look no further than birch bark, pine resin, and dryer lint. Combine them with petroleum jelly, cotton balls, or alcohol pads for a fierce flame.
Don’t forget magnesium shavings, fire starter sticks, or wax chips for an enduring burn. Char cloth is also invaluable. With these at hand, you’ll ignite a fire that screams independence and self-reliance in the wild.
What Is the Most Efficient Way to Start a Fire?
You’re seeking the most efficient fire-starting method.
Lens focusing, like with a magnifying glass, harnesses the sun efficiently.
Friction methods, including fire ploughs, require skill but offer independence.
Spark generators, such as flint and steel, and fire pistons, provide quick ignition.
Waterproof matches are foolproof.
For speed, use battery steel shortcuts or chemical reactions. Always prepare tinder bundles for catching sparks.
Each method grants you the self-reliance you crave in the wild.
Conclusion
As the sun dips below the horizon, you feel a satisfying warmth spreading from the glowing embers you’ve coaxed to life. Your hands, etched with the day’s work, tell stories of persistence and skill.
With these fire-starting techniques at your command, the wilderness whispers respect. Embrace the night’s chill with a fiery heart, knowing you hold the key to conquer darkness and cold.
Now rest, for the flames dance in honor of your mastery.